Today I having been making felt apple coasters. found the idea on Pinterest
Then came the keyrings. Not sure of the green apple one.
Then just had to make the badges as well. It's just been an apple kind of day.
From handmade personalised cards to gift wrapped sweet gifts, from personalised candles to nappycakes, we try to make it all. We're a small bunch of crafters who'll try almost anything once!
Thursday, March 31, 2016
Sunday, January 10, 2016
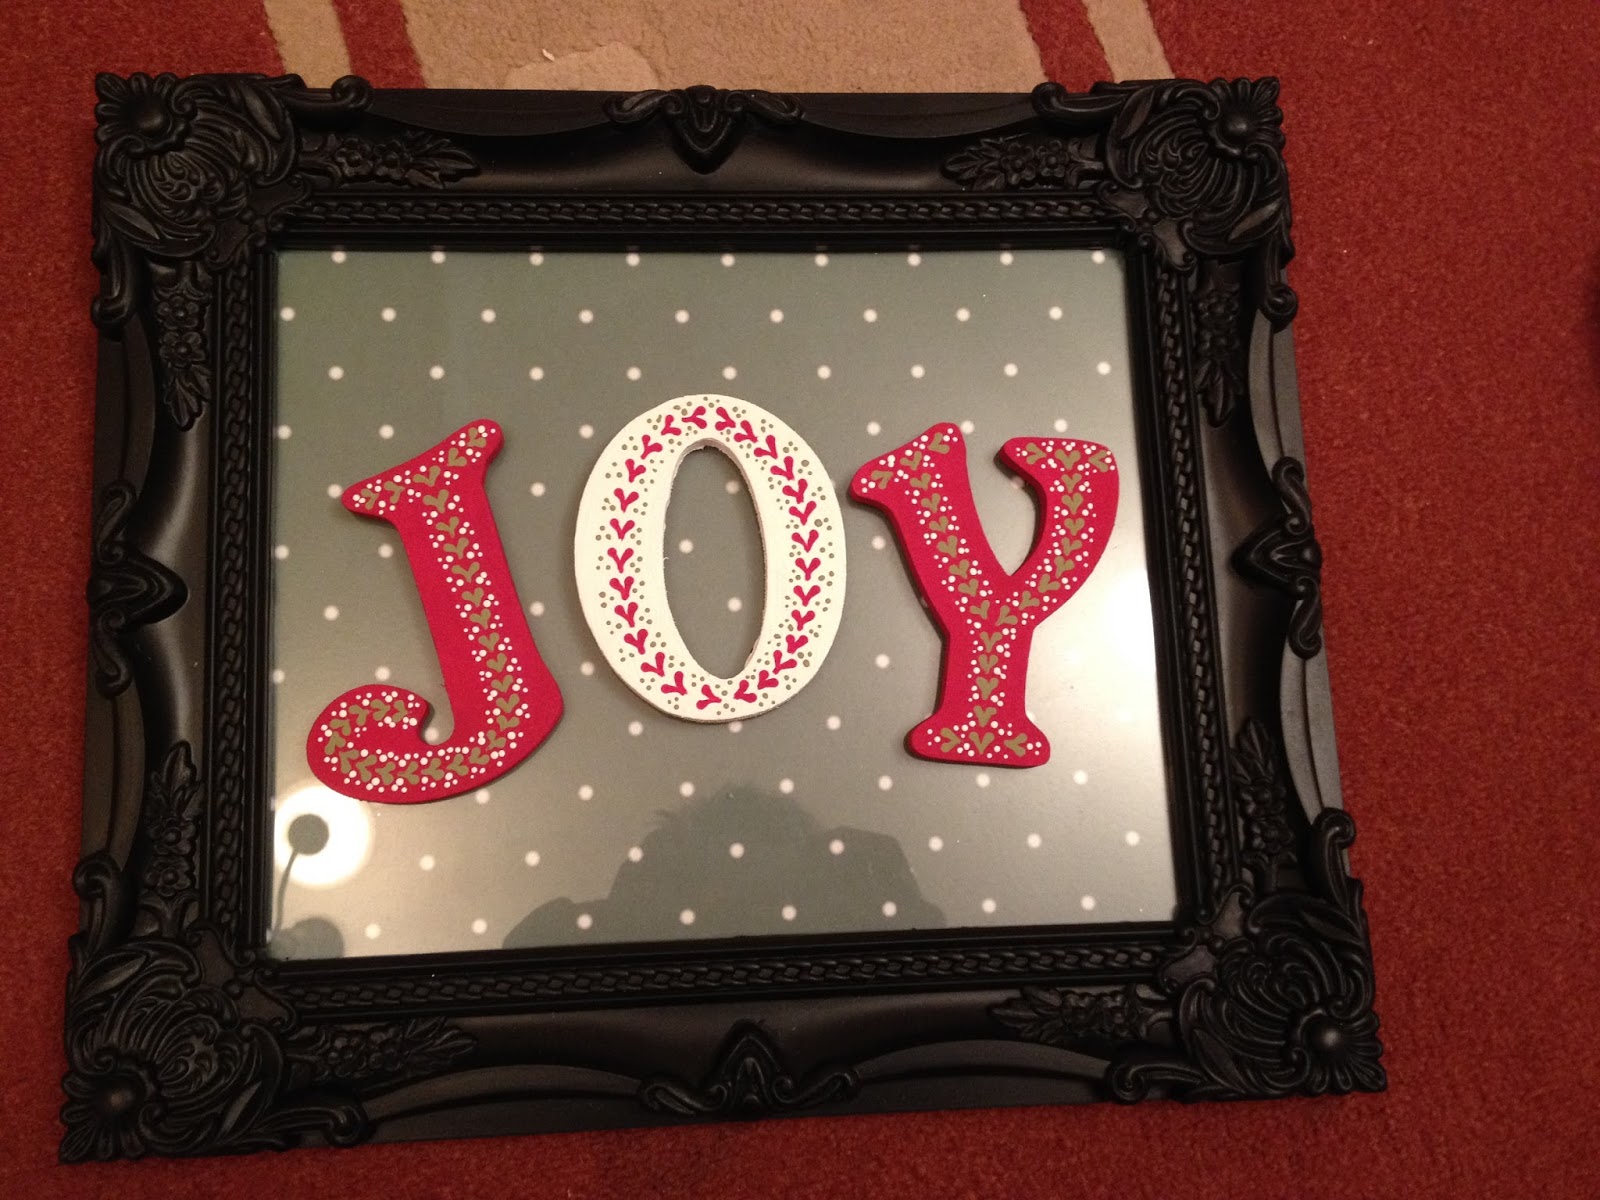
| Brought a frame from the pound shop and wooden letters from work and painted them. Then did a bit of folk art painting on them and then glued the letters to the frame. |
| Brought a pack of white hearts from work and clay and made some noses and then just put dots on the heart to make it look like a snowman . |
| Juat a few of the santa letters from this year. Always love making these. |
| This image is the inside of the santa letter with the candy cane and reindeer food that comes with the letter. |
| This picture is an image of the wording on the reindeer food. |
| This picture is some of the boxes we made in class over Christmas in work. |
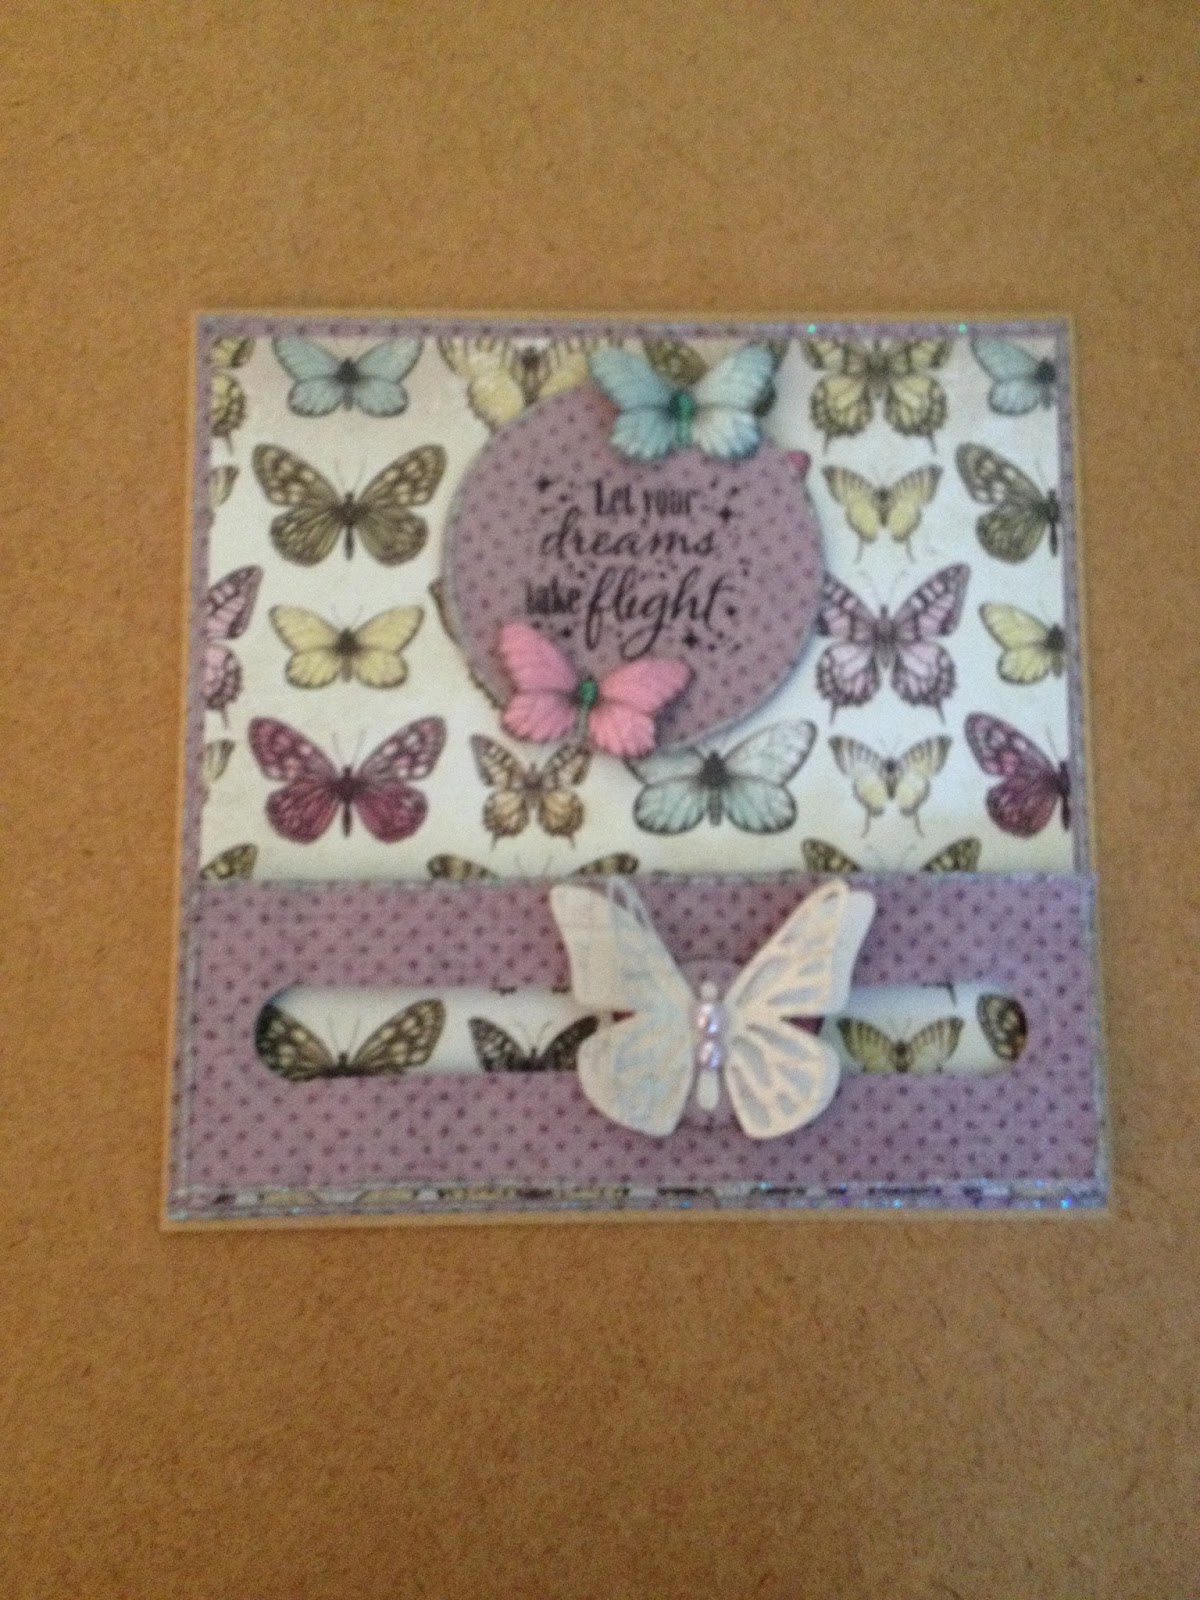
| A sliding spinner card for the day job class. Loving the butterflies.Just a small 6x6 kradt card and muted coloured papers. |
| Another sliding spinner card. This one has a new baby theme.Also used a button embossing folder for the white card.Again for the day job class. |
Sunday, January 3, 2016
Thursday, November 5, 2015
My post for today is the cards that I have made for my day job classes which I hold on a Tuesday in Hobbycraft in Basingstoke.
the first card is a 4x4 card using punched out circles and then just using a sharpie pen to add the lines
The pink and green one is using die cut circles and circle stamps
Love this snowman one. used an A6 card and die cut 3 circles which I embossed.
And the last one is 6 die cut circles 3 of each design.Then folded in half and glued together but
remember to add the string before gluing the last circle into place .thanks for taking a look
Sharon
the first card is a 4x4 card using punched out circles and then just using a sharpie pen to add the lines
The pink and green one is using die cut circles and circle stamps
Love this snowman one. used an A6 card and die cut 3 circles which I embossed.
And the last one is 6 die cut circles 3 of each design.Then folded in half and glued together but
remember to add the string before gluing the last circle into place .thanks for taking a look
Sharon
Friday, October 30, 2015
Wednesday, October 28, 2015
Ribbon and paper baubles and crafts
This is mum here
Well hello there everyone. Been a long time.I am giving this blogging a go. As in March Little moved up to York to be with her lovely man.So I do hope you will all forgive until I get the hang of this.Here are a few phones of the demos that I have done in my daytime job.
This one is of a christmas pudding using ribbon and adding some red beads at the top for berries.
This one was made by Little for me to put in my kitchen. This is made from ribbons that we got from Crafty ribbons. Then added the word home made from card.
This is a Christmas bauble made using Christmas papers which came from Hobbycraft and will be used in my day job as an idea for people that would like to make themselves.The tree below was made using ribbons as well which came from Crafty ribbons .Thanks for reading and I hope to add lots more ideas as time goes on .
Nice chatting Mum (Sharon)
Well hello there everyone. Been a long time.I am giving this blogging a go. As in March Little moved up to York to be with her lovely man.So I do hope you will all forgive until I get the hang of this.Here are a few phones of the demos that I have done in my daytime job.
This one is of a christmas pudding using ribbon and adding some red beads at the top for berries.
This one was made by Little for me to put in my kitchen. This is made from ribbons that we got from Crafty ribbons. Then added the word home made from card.
This is a Christmas bauble made using Christmas papers which came from Hobbycraft and will be used in my day job as an idea for people that would like to make themselves.The tree below was made using ribbons as well which came from Crafty ribbons .Thanks for reading and I hope to add lots more ideas as time goes on .
Nice chatting Mum (Sharon)
Tuesday, January 21, 2014
A Year In The Life...
Back in the summer I saw something I really wanted to try out as Christmas presents. I suggested it to Mum who said 'that'll be easy, we can do that'. So we brought the things we needed and planned to do them. Trouble was, as Christmas approached we got some devastating news that threw everything about Christmas out. So I didn't think we were going to do them. But, Mum being Mum managed to surprise me on Christmas day with this....
A year in the life of me!! My own personalised little diary for a whole 365 days!! Oh and as is the norm with us, when one Sister has...
Yep, Crusty got one too!!
Now...as I said, I'd planned to make these little diaries as gifts. Mum and I were going to add them to our Little-Lady's gift range for Christmas, before Christmas got sidelined. So when we were thinking up the ideas I'd asked Lady if she'd want one. To which she had said yes. Only I forgot all about it until I opened my diary on Christmas day. Then when I took my diary to work, Lady moaned soooo much about not having one...
So she a little later than planned, she got it!!
Little x
Monday, January 20, 2014
Da Na Na Na Na Na Na Na .....
BATMAN!! Well, Batman's 21! ...
Mum was asked to make two 21st birthday cards with a batman theme for a girl!! Batman isn't always the easiest of things to make girly, but I think you'll agree she managed it rather well!! You might not be able to tell from the photographs, but the first cards is sooo glittery...and with the second card she managed to add the flowers in, with thanks to the die she used. The die is technically supposed to be snowflakes, but we like to use it on the everyday cards too as it means we can add more sparkle!
Little x
Sunday, January 19, 2014
Little Does Stitch!
Having brought a Grand Calibur (die cutting machine) over a year ago, we're continuously finding new things we can do because of this useful machine. One of the things we discovered is that it not only cuts paper but also can cut fabrics. Once I'd discovered that my brain automatically went on to question whether it would cut a certain fabric...aida!! Aida's the fabric you use when cross stitching. Which left me with a dilemma. The only way I was going to find out whether it would work, was to try it out...so I had two choices...either I got Lady/Crusty to stitch something small, or I tried stitching something myself!!! I hadn't stitched in years. I think I was around 13 the last time I had (yes that was a long time ago!). Thankfully I managed to find a small little Margaret Sherry Teacup Kitty Cat cross stitch kit that had been a freebie with Cross Stitch Card Shop magazine. So I took on the challenge and started to stitch ...
I don't mind telling you that after about a week of stitching the thing my hand was unbelievably painful! It probably partially my fault. I was so eager to get the thing finished I pushed myself and stitched far longer than I should have. But I DID finish it, and I was sooo proud of myself! Then I just needed to see if my idea worked! I was sooo nervous as I cut the little kitty cat out. In fact as I took the Calibur's plates apart, I couldn't look just in case all my effort (and pain) had been all for nothing.
It wasn't though! IT WORKED!! So then I had a very cute little kitty cat ...all I had left to do was put it onto a card. After throwing a few things together, I came up with this...
Ok, so the stitching wasn't the best, but my plan had worked! I could cut aida into beautiful shapes. I could make a cross stitch card in the same way as a papercraft one. The cross stitch became the topper instead of placing it in an apperture!! And I'd managed to used the Memory Box Snowflake Corner Die to finish it off. Not only was I pleased with my efforts, but Lady suddenly found herself with a dilemma too...did SHE need a grand calibur?? Well the answer to that was YES! So last summer she purchased her own machine and joined the fun! (I'll show you some of her makes soon).
As I said, I was sooo proud of my little effort, that I had to make another for my Nan's best friend who loves cats too...
BUT THEN!
Wellll...Then I got the idea in my head that I wanted to make a cross stitched card for Mum's birthday. I knew what I'd have loved to do, but wasn't quite brave enough for that (not just yet). So one evening when I went to dinner at Lady's house we devised the plan. You see Mum usually gets all the stitching threads as the only place in town we can get them is where she works! I couldn't just go in and buy them or she'd have got suspicious....so we gave her a list and told her they were for Lady...nothing out of the ordinary...or so she thought!
I started it back in the summer sitting in the sunshine in my back garden. I was confident it wouldn't take that long...Oh how wrong I was! In between working and still trying to get our business orders fulfilled I was stitching when I could, but it took forever!! In fact I didn't finish it until about a week before Mum's birthday! Woops!!
Again I then had to work out what I was going to do with it. The last time the two little cats had been finished, Mum ironed the backing fabric onto them...this time I had to do it myself!! Gees was I nervous. BUT I DID IT..yay me!! Then I had to put it onto a card...what I'd planned to do didn't quite work and I was far too afraid to cut the thing in the Calibur in case I hit the stitching ...months of work would have been for nothing...Uh oh...I spent all day putting the card together, but once I had, I couldn't quite believe I'd made it...and all by myself!! I was practically dancing on the ceiling haha. All I had to do then was wait to give it to Mum...I didn't quite make it to her birthday..I had to give it to her the night before...I wanted her to see! I hadn't quite bargained on her crying...but she did, and she loved it!! For all the months I'd said "I can't I'm busy" whilst seemingly to her was doing nothing, and all the times I'd disappeared during the time I was stitching, Mum finally understood why!! Why was it?? Well look....
I had to be a little cheeky and use her Memory Box Flowering Vine die to finish the card, but I'm sure she'll forgive me! In fact I have this card in the bank for at least another month or two...That is until I stitch the next one...the big one I was originally scared of, but it's my 2014 challenge piece, so I'll let you know in November how it worked out haha! Look closely and you'll see I've stuck some of the little die cut butterflies onto the aida too! Oh and I only had to unstitch the occasional bit of Fizzy Moon that I'd messed up!
Oh I was proud of him...still am. Even Lady was impressed. So much so that when I showed her she said "I can't wait to get my cross stitched birthday card...WAIT!! WHAT!!! I hadn't planned to do her one...Fizzy had taken months and I only had 5 days...uhoh!! But as I couldn't leave her disappointed I tried my best and made her this...
A very little SomeBunny Cross stitch...but I promise you here and now Lady...this year you WILL get a better one...a bigger one!! I know what I'm doing and I have months!!
Little x
Subscribe to:
Posts (Atom)